Unlocking the Monitor Control Room Safe: Your Essential RE9 Guide
Resident Evil Requiem (RE9) continues the series' tradition of intricate puzzles and hidden treasures, and few challenges are as satisfying to overcome as cracking a well-guarded safe. Among the many mysteries and horrors within the ARK facility, the Monitor Control Room Safe Code RE9 stands out as a crucial endgame objective. Located in one of the game's final and most intense areas, this safe offers invaluable resources that can turn the tide in your fight for survival. This comprehensive guide will walk you through everything you need to know: the precise location, the exact codes for different difficulties, where to find the in-game file that reveals the combination, what precious loot awaits you, and expert tips to ensure a smooth unlock.
Whether you're a seasoned Resident Evil veteran or a newcomer to the survival horror genre, navigating the treacherous B2 Level of the ARK facility to find and open this safe requires both knowledge and preparation. Don't let the looming threats and complex environment deter you; with the right information, you'll soon have those coveted items in your inventory.
Monitor Control Room Safe Location in RE9
The journey to the Monitor Control Room safe begins deep within the ARK facility, an ominous, endgame environment that serves as the ruins of Raccoon City's last bastion. Specifically, you'll find this pivotal safe situated on the B2 Level of the ARK. Its exact whereabouts are within the Monitor Control Room itself, a chamber directly connected to the central Lobby area.
To pinpoint its location, once you've gained access to the Lobby (typically after utilizing the Magnetic Key and navigating the Relapsed Panel puzzle), head towards the southwest section of the room. Here, you'll find the entrance to the Monitor Control Room. The safe is prominently displayed within this space, often catching the eye as a beacon of potential relief amidst the despair. It's vital to note that this area often signifies a point of no return. Once you pass through certain red doors in the Lobby after solving the Relapsed Panel puzzle, returning to previous sections might be impossible. Therefore, ensure you secure this safe and its contents *before* advancing further into the endgame.
RE9 Monitor Control Room Safe Code: All Difficulties
Resident Evil Requiem, much like its predecessors, tailors certain challenges to different difficulty settings. The Monitor Control Room safe code is no exception, with a distinct combination for the unforgiving Insanity mode. Knowing these codes beforehand can save you significant time and potential frustration, allowing you to bypass the hunt for the physical code file if you prefer.
- Casual / Normal Difficulty Safe Code:
- Left 50 - Right 60 - Left 80
- Insanity Difficulty Safe Code:
- Right 20 - Left 0 - Right 70
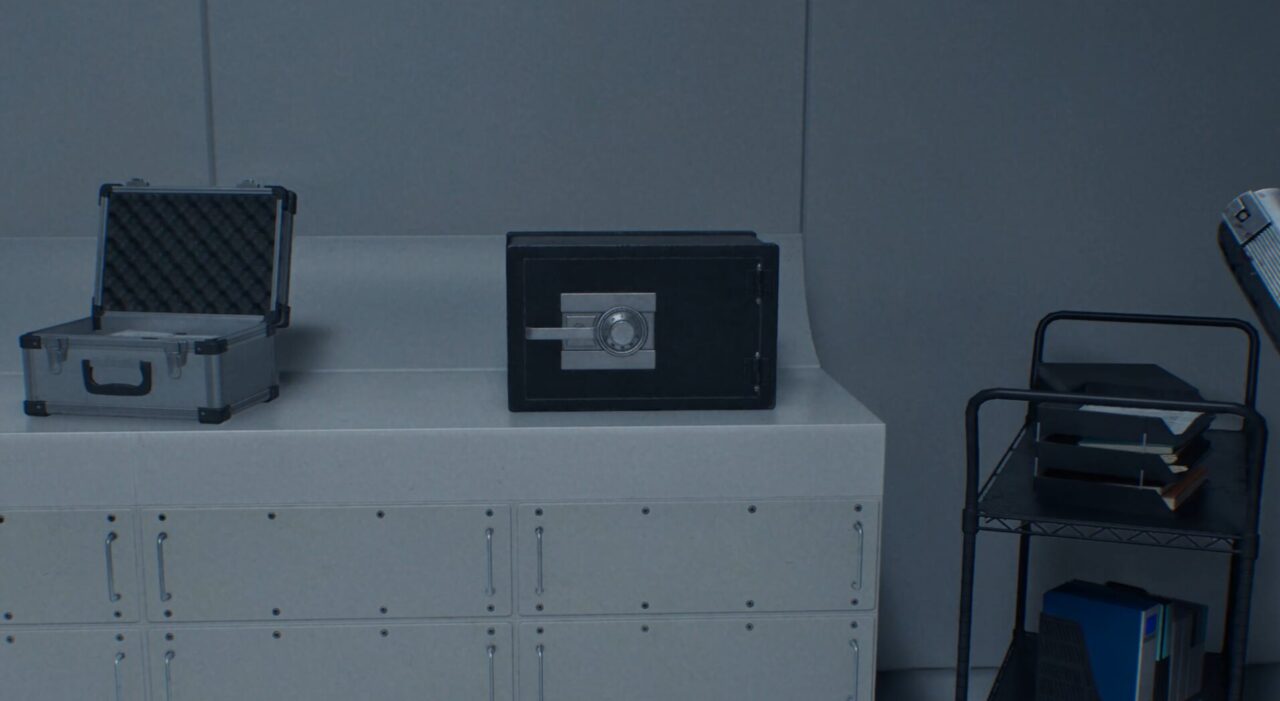
Crucial Safe Opening Tip: A common mistake for players unfamiliar with Resident Evil's safe mechanics is to try pulling the handle after each number input. Do NOT do this. The safe's mechanism requires you to input the *entire* three-number sequence first. Only after the final number has been correctly dialed should you attempt to pull the safe handle. Pulling it prematurely will reset the entire code input, forcing you to start over.
Finding the Monitor Control Room Safe Code File
While having the code at your fingertips is convenient, many players prefer the immersive experience of discovering the combination within the game world. The Ark staff, in their final moments, thoughtfully left the Monitor Control Room safe code on a piece of paper, allowing you to uncover this secret yourself. The file containing the code is not in the Monitor Control Room itself, but in a nearby, highly dangerous area.
From the Lobby, take the stairs leading down to the Bioweapon Repository 05. This area is notorious for its challenging encounters, so ensure your inventory is stocked with ample ammunition and healing items – you'll likely face not only regular zombies but also the notoriously swift and deadly Lickers. Once in the center of Bioweapon Repository 05, head towards the east. Look to your south, and you should spot an open container. Inside this container, you will find the precious file containing the Monitor Control Room safe code, along with some scrap. Be incredibly wary of your surroundings as you approach and retrieve it, as the Lickers in particular are excellent ambush predators in this environment.
For more detailed insights on all difficulty codes and the location, you can check out our comprehensive Resident Evil Requiem: Monitor Control Room Safe All Difficulty Codes guide.
Valuable Rewards Inside: What Awaits You?
The effort of locating the safe, deciphering its code, and braving the dangers to get there is handsomely rewarded. The Monitor Control Room safe contains a collection of highly useful items that are particularly beneficial during the game's challenging endgame sequences. Upon successfully unlocking and looting the safe, you will find:
- x1 Empty Bottle: A versatile crafting component in RE9. Empty Bottles can be combined with various materials to create powerful offensive or defensive tools, such as Acid Bottles, Flashbangs, or even more potent concoctions, depending on the available crafting recipes.
- x1 Med Injector: A critical healing item that provides a substantial health recovery. In the intense battles of the endgame, every Med Injector can be the difference between survival and a gruesome death.
- x1 Bottle of Acid: A potent throwable weapon that inflicts area-of-effect damage, melting through enemy flesh and armor. It's incredibly effective against groups of weaker enemies or for dealing sustained damage to tougher foes.
These items, especially the crafting components and high-tier healing, are strategically placed to give you a much-needed boost before the final confrontations. They reinforce the importance of exploration and puzzle-solving in Resident Evil Requiem, making every discovery feel truly rewarding.
Expert Tips for Cracking the RE9 Monitor Control Room Safe
Opening the Monitor Control Room safe isn't just about knowing the code; it's about strategic planning and execution, especially given its endgame location. Here are some expert tips to ensure you secure your rewards without unnecessary setbacks:
- Prioritize Preparation: If you intend to find the code file yourself, remember the Bioweapon Repository 05 is a combat-heavy zone. Before heading downstairs from the Lobby, ensure your weapon of choice is fully loaded, and you have enough healing items. Consider crafting a few extra RE9 Monitor Control Room Safe: Codes, Location & Loot Guide items if your inventory allows, especially those that deal with crowds or stun enemies.
- Licker Tactics: Lickers are blind but have acute hearing. When searching for the code file in Bioweapon Repository 05, move slowly and quietly. If you must engage, shotguns or grenades are effective, but headshots with precise pistol fire (if you can aim for the head despite their erratic movement) can save ammo. A Bottle of Acid from your inventory (if you already have one) can also be highly effective.
- Don't Rush the Dial: The safe dialing mechanism can be finicky under pressure. Take your time with each turn, especially the precise stops. Rushing often leads to overshooting the number, requiring you to carefully re-adjust or even restart the input if you go too far. Patience is a virtue here.
- Resource Management Post-Loot: The items you acquire—especially the Empty Bottle and Bottle of Acid—are powerful. Plan how you'll use them. Do you need more healing, or is a powerful offensive tool like an Acid Bottle more critical for the upcoming challenges? Think a step ahead.
- Consider Bypassing the Code Hunt: If you're low on health, ammo, or simply want to minimize risk, don't hesitate to use the direct codes provided in this guide. The thrill of discovery is great, but sometimes survival takes precedence. There's no shame in a strategic shortcut, especially in Insanity mode.
Why This Safe is Crucial for Your Survival in Resident Evil Requiem
The Monitor Control Room safe isn't just another collectible; it's a strategically placed cache of resources designed to bolster your chances in the final, most brutal segments of Resident Evil Requiem. By the time you reach the ARK facility, enemies are tougher, ammunition is scarcer, and healing items are a luxury. The Med Injector provides a significant health boost, crucial for weathering powerful enemy attacks or recovering from a close call. The Empty Bottle is a blank canvas for crafting, allowing you to adapt your strategy on the fly—whether you need more healing, crowd control, or pure damage output. And the Bottle of Acid itself is a formidable weapon, capable of clearing pathways or taking down elite foes with alarming efficiency.
Securing these items means you'll be better equipped for the intense boss battles and overwhelming enemy encounters that typically characterize the climax of a Resident Evil game. It transforms a desperate struggle into a manageable fight, giving you the edge you need to see your mission through to its terrifying conclusion. Don't underestimate the value of this safe; it's more than just loot—it's a lifeline.
Cracking the Monitor Control Room safe in Resident Evil Requiem is a rite of passage for any player looking to fully conquer the game. By understanding its location, mastering the code input, knowing where to find the in-game file, and leveraging the invaluable rewards, you'll be well-prepared for whatever horrors the ARK facility throws your way. Good luck, and may your aim be true!