Resident Evil Requiem (RE9) thrusts players into a harrowing battle for survival, where every resource counts and every secret uncovered can mean the difference between life and a gruesome demise. As you delve deeper into the decaying ruins of Raccoon City and the mysterious ARK facility, you'll encounter numerous locked containers, each promising valuable loot. Among the most anticipated is the Monitor Control Room Safe, a late-game challenge that, once cracked, yields crucial items for your continued journey.
This comprehensive guide is your ultimate resource for navigating the Monitor Control Room, uncovering its secrets, and securing the precious contents of its safe. We'll detail the exact codes for all difficulties, pinpoint its location, reveal its valuable rewards, and equip you with essential tips to ensure a smooth, successful unlock without unnecessary stress or wasted resources. Prepare to conquer one of RE9's final significant obstacles.
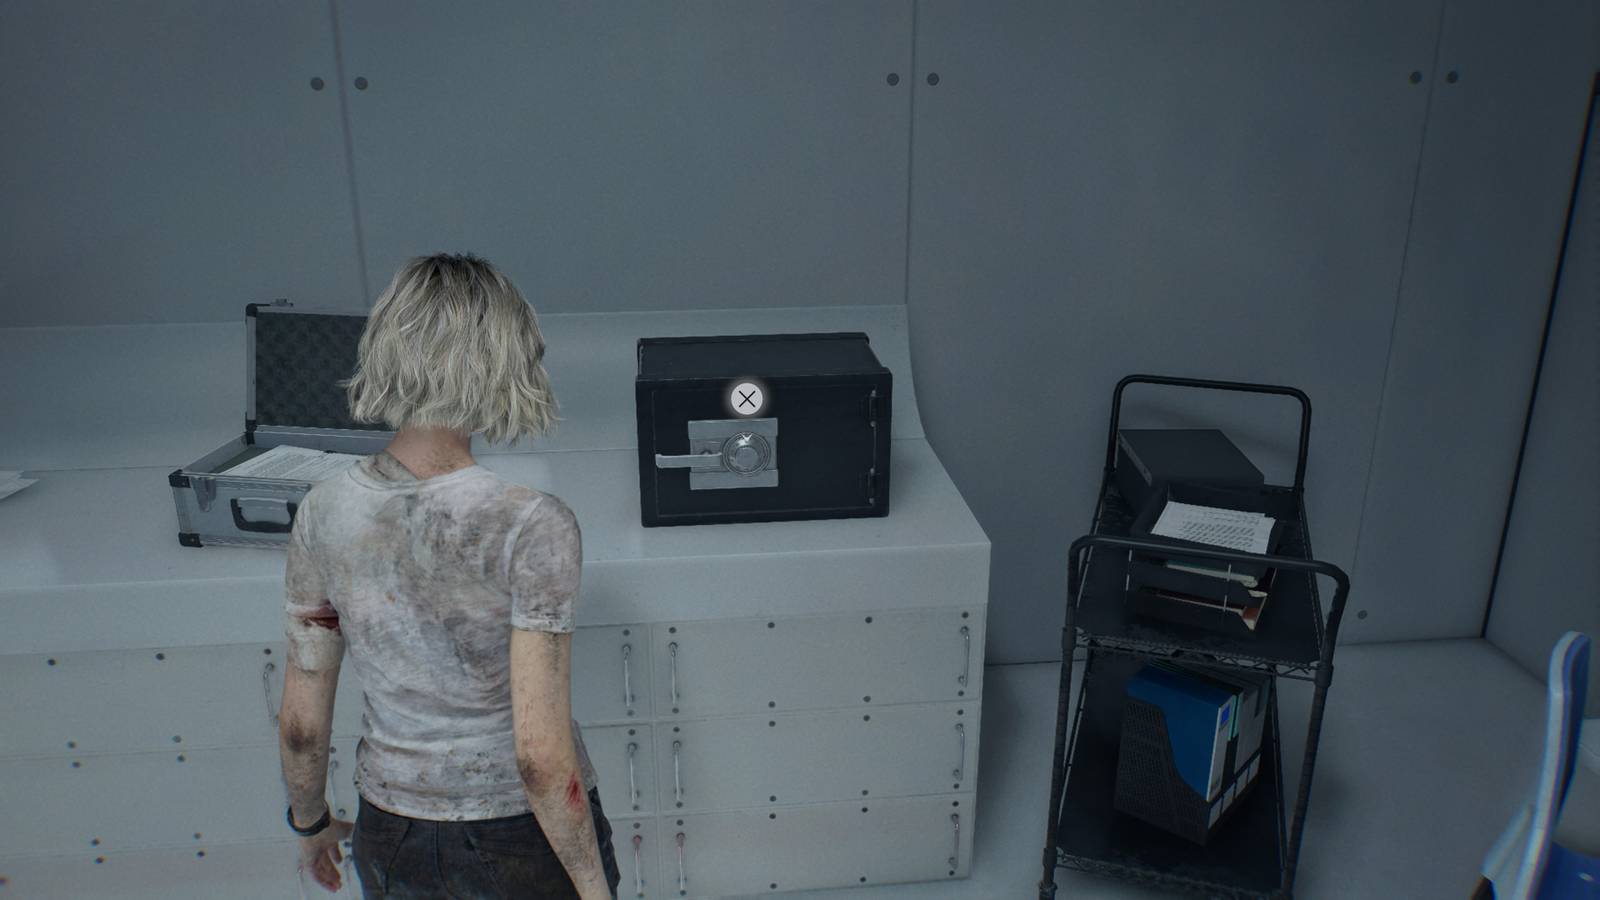
Unlocking the Monitor Control Room Safe: The Crucial Codes
The Monitor Control Room Safe is one of the last major safes you'll encounter in Resident Evil Requiem, making its successful opening a high priority for end-game preparation. Like other safes in the game, its combination is a series of precise dial turns. However, RE9 introduces a classic Resident Evil twist: the code changes depending on your chosen difficulty setting. Paying attention to your difficulty is paramount to avoid frustrating resets and wasted time.
Decoding the Safe Combination for Each Difficulty
Before you even approach the safe, confirm your current difficulty setting. This single step will save you immense frustration. Here are the precise codes you'll need for the Monitor Control Room Safe Code Re9:
- Casual / Normal Difficulty:
- Spin the dial Left until you hit 50.
- Then, spin the dial Right until you hit 60.
- Finally, spin the dial Left until you hit 80.
- Insanity Difficulty:
- Spin the dial Right until you hit 20.
- Then, spin the dial Left until you hit 0.
- Finally, spin the dial Right until you hit 70.
Important Safe Opening Mechanic: For players new to Resident Evil's safe-cracking mechanics, it's crucial to understand how these dial safes operate. Do not attempt to pull the safe handle after each individual number input. The game expects the complete three-number sequence before it allows an attempt to open. Pulling the handle prematurely will simply reset your input, forcing you to start over. Wait until all three turns (e.g., Left 50 - Right 60 - Left 80) have been precisely entered before firmly pulling the handle to reveal your rewards.
The variation in codes across difficulties serves to enhance the challenge on harder settings. On Insanity, players are often expected to be more observant, or at least prepared to look up specific information, as the game's puzzles become less forgiving. Always double-check your code against your current game mode!
Where to Find the Monitor Control Room Safe (and its Code File)
The Monitor Control Room Safe is situated deep within the mysterious ARK facility, an endgame area that emerges from the devastation of Raccoon City. Understanding its location and the journey to reach it is key to planning your approach.
Safe Location: Deep Within the ARK Facility
You'll discover the Monitor Control Room Safe on the B2 Level of the ARK Facility. This area is typically accessed later in the game, specifically after you've made significant progress through the ARK and navigated puzzles such as the Relapsed Panel. After using the Magnetic Key to unlock the main Lobby, proceed into the southwest room. This is the Monitor Control Room, and the safe will be hard to miss within it.
It's important to note the progression: You gain access to this specific area shortly after unlocking the Lab Entrance door. From the Lab Entrance, enter the Lobby, and then take the adjacent door into the Monitor Control Room. This safe marks one of the final opportunities to grab crucial supplies before the game's ultimate confrontations.
Locating the Safe Code File In-Game
While having the codes readily available from a guide like this saves time and resources, many players enjoy the immersive experience of finding the codes themselves. The members of the ARK staff, in their final moments, were considerate enough to leave the Monitor Control Room Safe Code on a piece of paper for you to discover. If you prefer to find the code organically, here's where to look:
From the Lobby, head down the stairs to the Bioweapon Repository 05. Once inside this grim chamber, navigate to the center of the room. From the center, move eastward and then look towards the south. Here, you'll find an open container. Inside this container, alongside some minor loot like Scrap, you will discover the crucial File containing the Monitor Control Room Safe Code. However, be forewarned: this area is not empty. The Bioweapon Repository 05 is often patrolled by dangerous enemies, including the notorious Lickers, who can inflict heavy damage if you're not prepared. Stock up on ammo, healing items, and perhaps a couple of Acid Bottles before venturing in to retrieve the file.
A Critical Warning: The Point of No Return: After you enter through the red door in the Lobby, particularly after solving the Relapsed Panel puzzle and making your way deeper, you will often find yourself unable to return to previous areas. Make absolutely certain that you have secured the Monitor Control Room Safe and any other desired items or collectibles in the ARK facility before proceeding past this point. This safe is usually among the last accessible secrets, so don't leave it behind!
The Valuable Contents: What Awaits You Inside
After successfully inputting the Monitor Control Room Safe Code Re9, the satisfying click of the lock signals your reward. And the contents of this endgame safe are genuinely useful, providing critical resources for the final stretches of Resident Evil Requiem.
Upon opening the Monitor Control Room Safe, you will be rewarded with:
- x1 Empty Bottle
- x1 Med Injector
- x1 Bottle of Acid
Let's break down the strategic value of each item:
-
Empty Bottle: While seemingly innocuous, the Empty Bottle is one of the most versatile crafting components in RE9. At this late stage of the game, having an extra bottle means you can craft another crucial utility item. Depending on your current inventory and needs, this could become:
- An Acid Bottle: Excellent for area-of-effect damage, melting tougher enemies, or clearing groups.
- A Flashbang: Invaluable for stunning multiple enemies, particularly Lickers or faster foes, allowing for quick escapes or critical follow-up shots.
- A First Aid Med: If you have additional herbs, this could be converted into another essential healing item, crucial on higher difficulties.
- Med Injector: This is a premium healing item, restoring a significant portion of your health. At the endgame, where enemies hit harder and boss encounters are more demanding, having an extra Med Injector can be a lifesaver. It allows for quick, substantial recovery, which is often necessary when facing waves of advanced bioweapons or the game's ultimate antagonists. Don't underestimate the power of sustained health in RE9's toughest moments.
- Bottle of Acid: A potent offensive consumable. The Bottle of Acid deals significant damage over an area, making it perfect for taking down heavily armored foes, melting groups of standard zombies, or disrupting faster, more agile threats. It's especially effective against specific enemy types vulnerable to corrosive damage. Having an additional one means more firepower or another option for crowd control when you're likely facing the game's most formidable challenges.
Collectively, these items provide a well-rounded boost to your survival capabilities: an instant heal, a powerful offensive option, and a versatile crafting component. They reinforce your readiness for whatever horrors RE9 still has in store, making the Monitor Control Room Safe a mandatory stop for any thorough player.
Essential Tips for Cracking the ARK Facility Safe
To ensure a smooth and successful experience with the Monitor Control Room Safe, keep these practical tips in mind:
- Confirm Your Difficulty First: Before you even approach the safe, double-check your game's difficulty setting. The codes for Casual/Normal are distinct from Insanity. Using the wrong code will simply reset the dial and waste your time.
- Precision is Key for Dial Turns: When inputting the code, be deliberate and precise. Spin the dial slowly and carefully until the indicator lines up exactly with the target number. Over-shooting or under-shooting, even slightly, can sometimes lead to input errors.
- Wait to Pull the Handle: This cannot be stressed enough. Unlike some simpler lock mechanisms, RE9's dial safes require the entire three-number sequence to be entered before you attempt to open it. Pulling the handle after the first or second number will reset your progress.
- Prepare for the Journey to the Code File: If you choose to find the code file in-game (in Bioweapon Repository 05), be absolutely ready for combat. This area is often crawling with dangerous enemies, including Lickers. Stock up on ammo, healing, and consider having a powerful weapon equipped before descending.
- Prioritize Before the Point of No Return: The ARK facility often has a "point of no return." Ensure you've tackled the Monitor Control Room Safe and any other desired collectibles or secrets before progressing too far into the final chapters, especially after the red door in the Lobby. You might not get another chance.
- Consider Skipping the File Search: If you're short on resources or want to conserve ammo, using this guide to get the code directly is a perfectly valid strategy. It saves you the danger and potential resource drain of confronting enemies in Bioweapon Repository 05 just for the file.
By following these tips, you can efficiently unlock the Monitor Control Room Safe, gather your rewards, and push forward into the final challenges of Resident Evil Requiem with confidence.
The Monitor Control Room Safe in Resident Evil Requiem represents a final, rewarding puzzle for players before they face the ultimate horrors of the ARK facility. By understanding the specific codes for each difficulty, knowing the safe's precise location, and appreciating the value of its contents, you're well-equipped to overcome this challenge. The Empty Bottle, Med Injector, and Bottle of Acid are not just arbitrary items; they are crucial components that can significantly aid your survival in the intense endgame. Remember to apply the correct code, exercise patience with the dial, and always be prepared for the dangers lurking within the ARK. Crack this safe, claim your hard-earned rewards, and secure your readiness for the climactic conclusion of RE9.